1.png

HOMEMADE PLAYDOUGH

Playdough can be endless fun for kids of all ages!! This one is non toxic, SO easy the kids can help, and you can make several batches in less than 30 minutes. It will also last way longer than the store bought and is softer. Need we say more?!

Ingredients:

  • 1 cup all-purpose flour

  • 2 teaspoons cream of tartar

  • 1/3 cup table salt

  • 1 cup water

  • 1 tablespoon vegetable oil

Optional:

  • Food coloring

  • Essential Oil

  • Parchment paper (or you can use another cooled bowl or anything to line your counter)

4 quick NOTES: (1)You may want to halve this playdough recipe if you want to use different colors :) (2)Cream of tartar can be pricey in the spice section of the store, you can buy in bulk on amazon for a lot cheaper! (3) Gel food coloring works best but any is fine! (4) Recipe makes about 2 cups of playdough (store bought is usually ½ cup.)

Ok lets get to it!

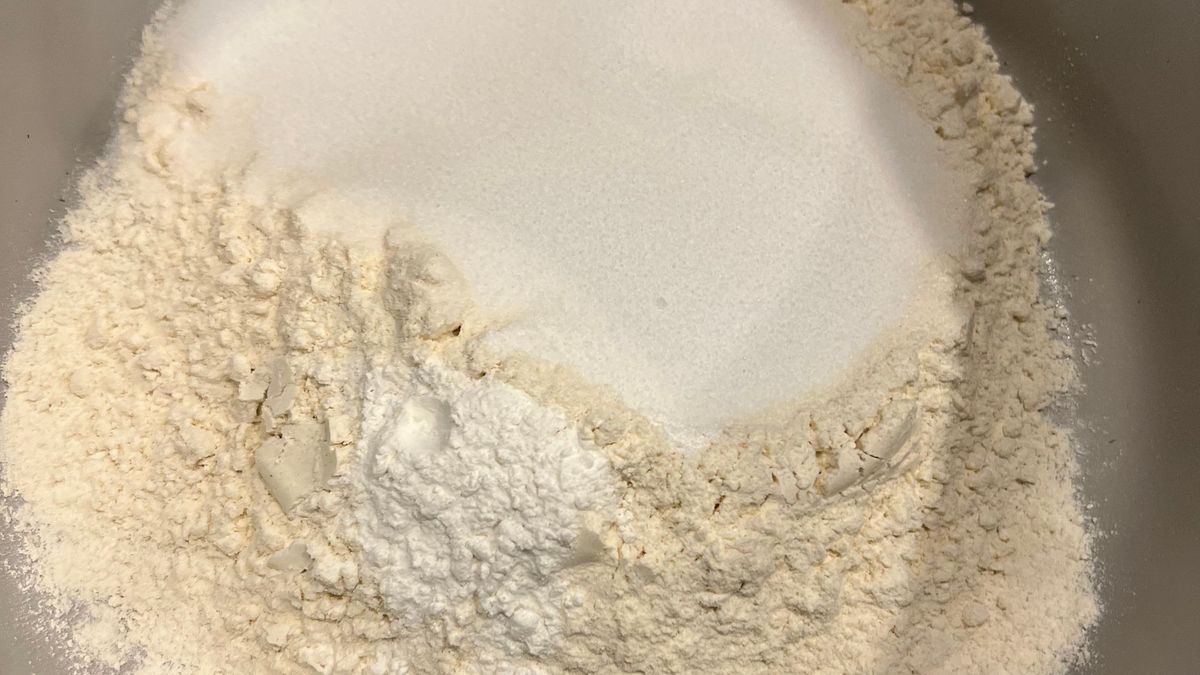
First, add the dry ingredients to a large saucepan - 1 cup flour, 2 teaspoons of creak of tartar, ⅓ cup salt (yes - you read that right - ⅓ cup! This helps it from being too sticky AND keeps it good for a long time).

  • 1 (4).jpg

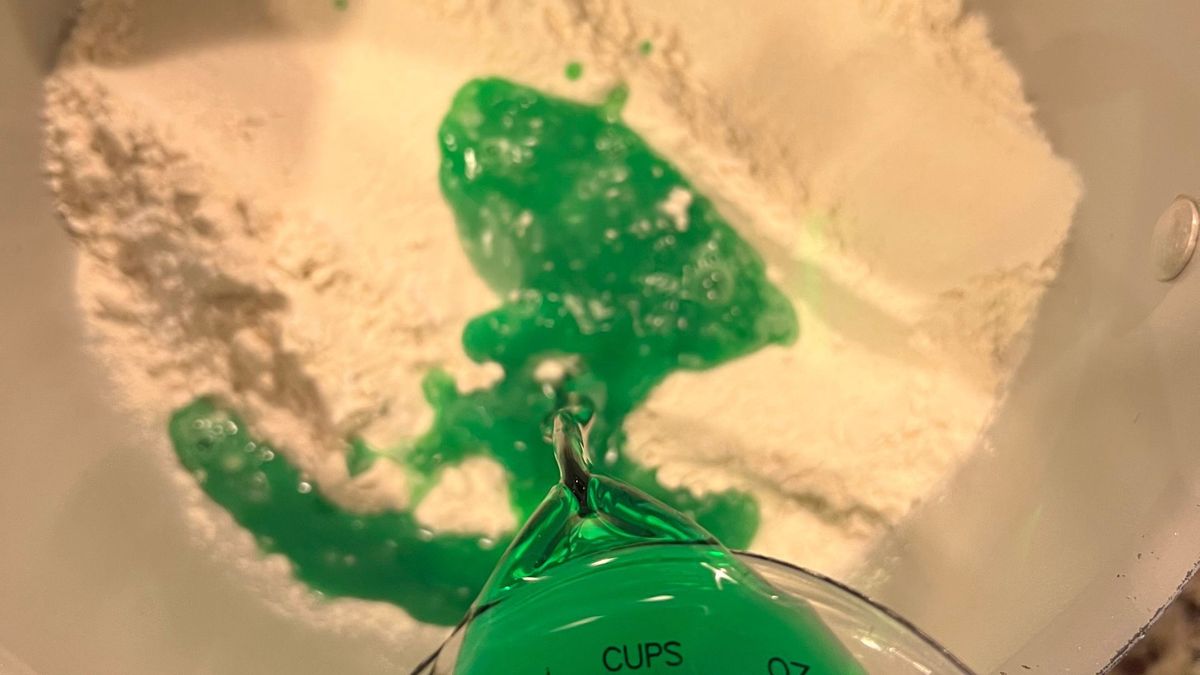
Next, add the liquids. This is where you can add a few drops of food color to 1 cup of water FIRST as well as essential oils for a fun scent if you would like, right into in the measuring cup, then stir into the flour mixture along with 1 Tablespoon vegetable oil.

  • 2 (1).jpg

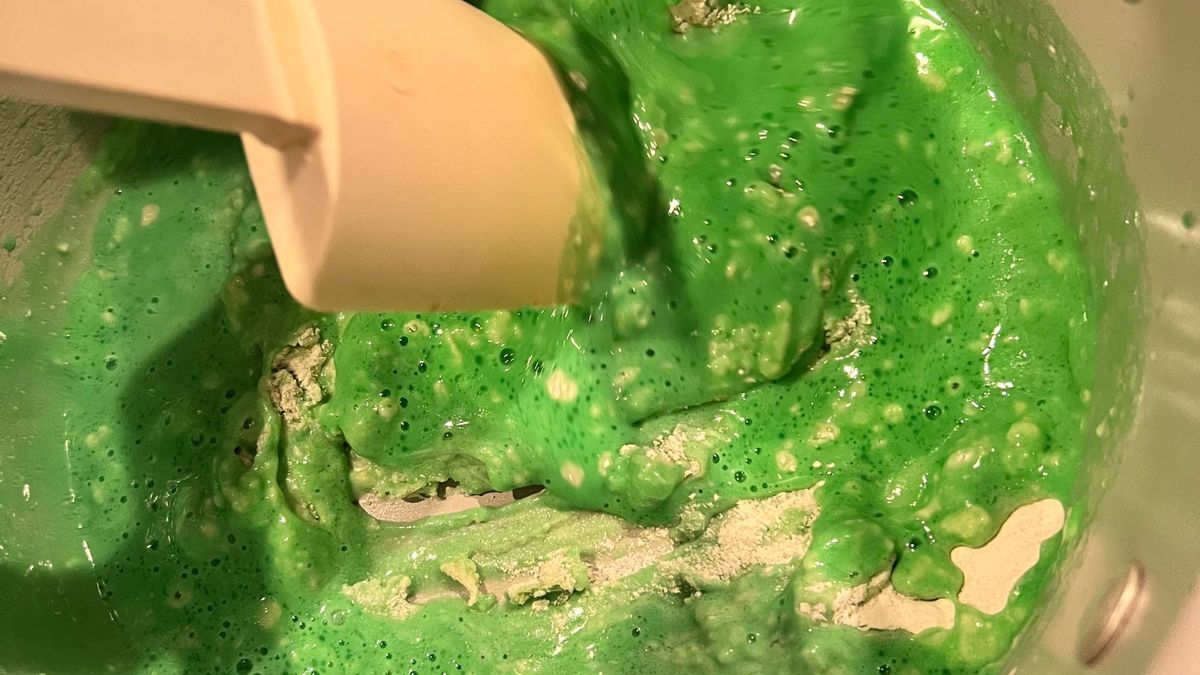
Now, turn on the burner to med/low and stir, stir and keep stirring. It's going to be lumpy for a bit, that's ok, don’t panic! Keep stirring...

  • 3 (2).jpg

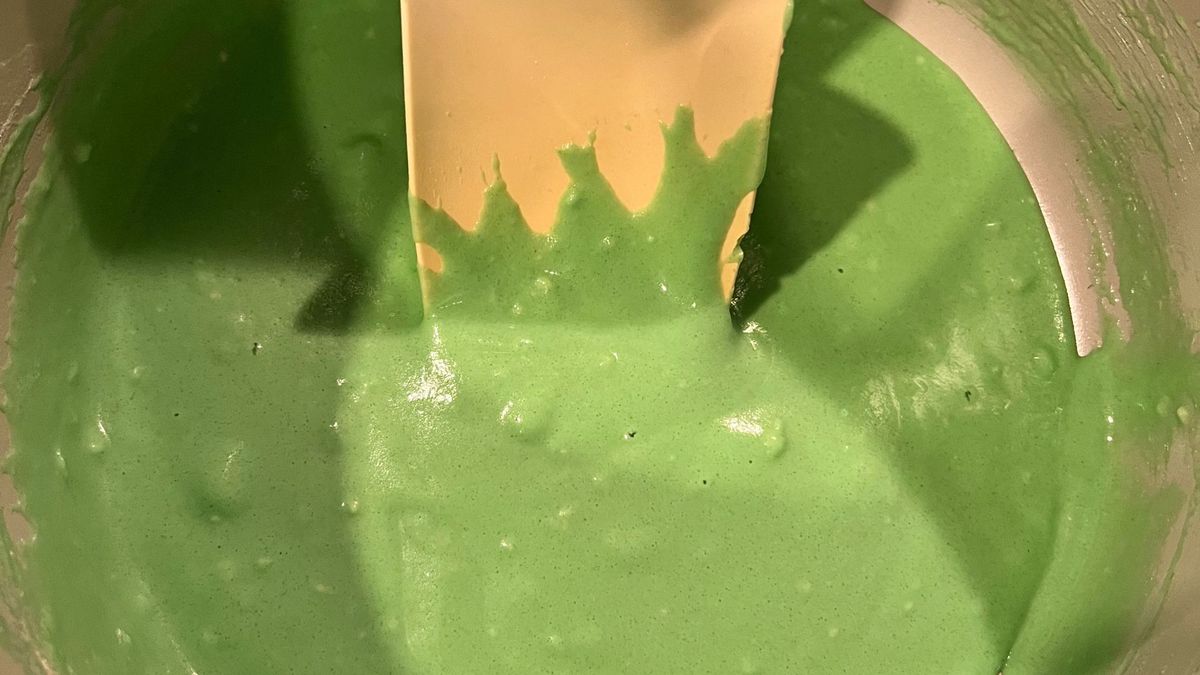
Stir away until it starts getting a solid. If there are still a few lumps, that’s still ok – you’ll work that out later.

Keep stirring…..

  • 4 (2).jpg

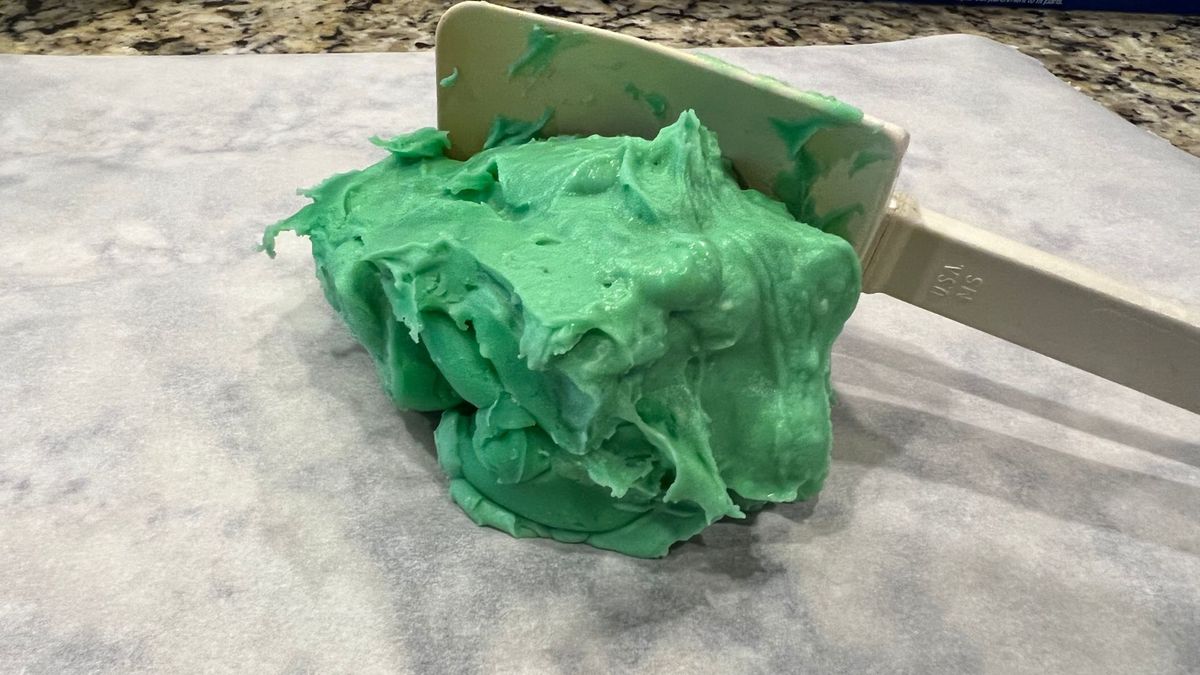
Once the playdough begins to gather together around the spoon you know it’s almost done. This may be 20 seconds or 2 minutes; it depends on how hot your stove is. As it starts to form a ball, and you can transfer as one lump piece it’s ready to remove.

Remove your homemade playdough from the saucepan and put it on some parchment paper, a plate, a separate bowl or whatever you have to let it cool.

  • 5 (3).jpg

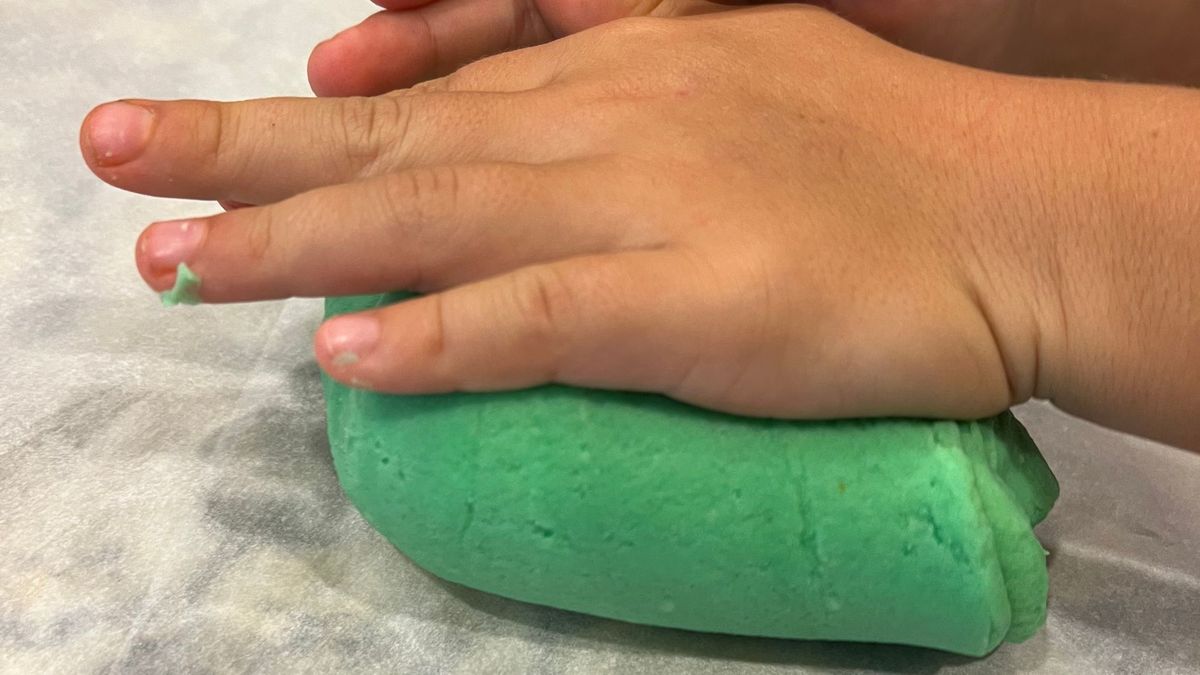
Once it’s cooled, knead the playdough for a minute or two to get out any lumps and to get it to a better consistency, you’ll know when it’s done. The kids can help here too! Just check the temperature first.

  • 6 (2).jpg

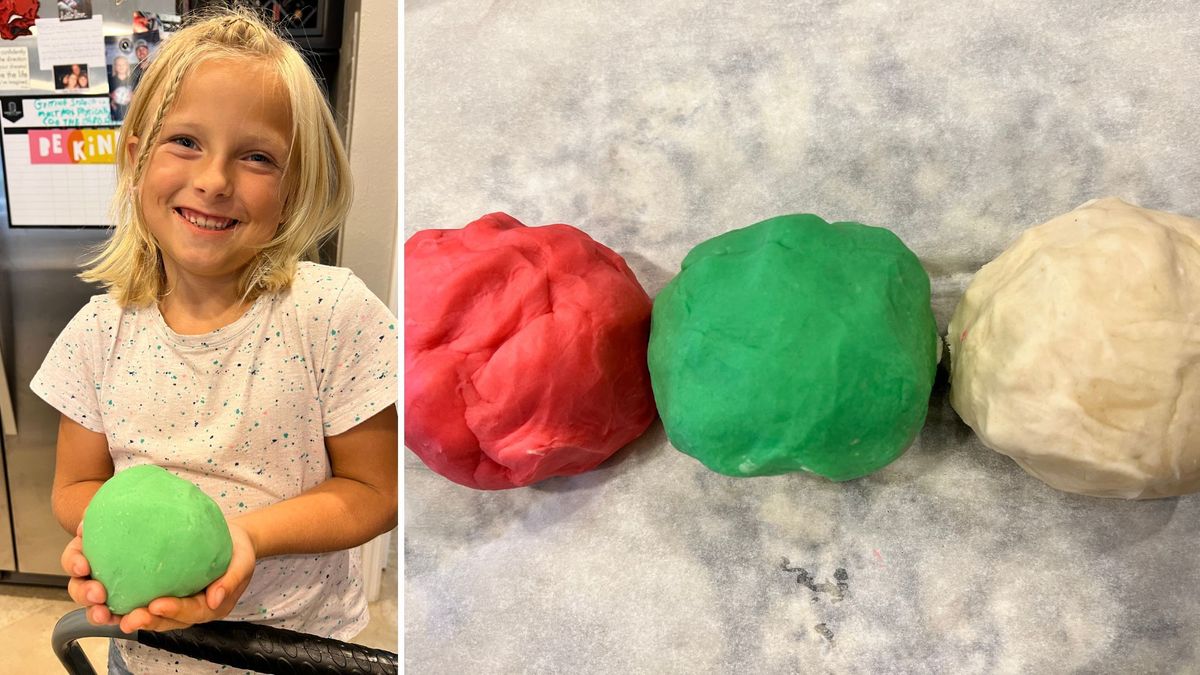
That's it! You did it! Now play away, and when you are done, store it in something airtight like a zip lock or storage container. Make sure it is COMPLETELY cool before you store it. We made 3 batches, green, pink (with red food coloring) and then the “white” is no food coloring at all.

  • 7 (2).jpg

FIX IT NOTES:

Is your playdough too sticky? Don’t worry! Put it back in the sauce pan and let it cook a little longer, you may need to add more flour and salt - just start with SMALL amounts first.

Did you playdough get a little dried out? Add a little oil to your hands and knead the playdough some more.

Make sure to take a picture when you try it out and then tag us on Facebook or Instagram :)

FIT4MOM is way more than just a workout - the kids have a blast too - at our playdates, art in the park and more, with things like this homemade playdough. Join us for a FREE class.